One very simple way to improve the quality of your videos is to make sure you have great lightning. One of the easiest ways to spot amateur video is a poorly lit scene. That goes for all kinds of film-making as well, not just fictional pieces but documentaries and news pieces too! Thankfully, there’s a technique commonly called three-point lighting that can be to make your film subjects really pop. Let’s look at how it’s done.
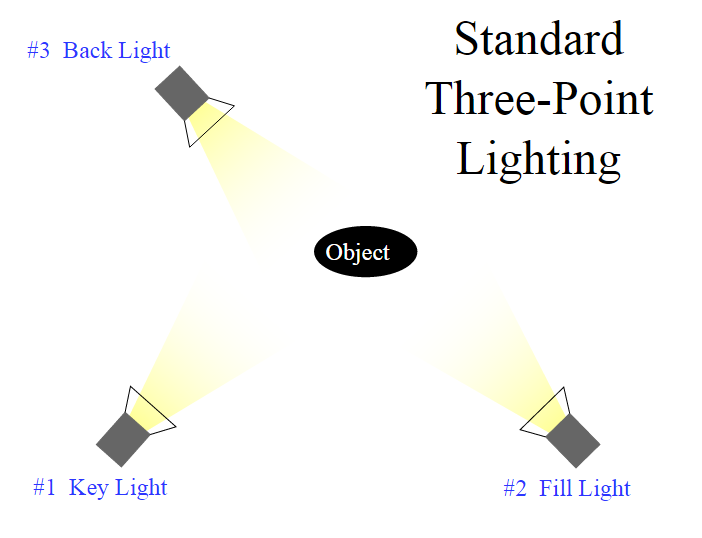
This technique uses three lights: the key light, the fill light, and the back light. If you only have one light it becomes the key light. If you only have two lights, one will be the key light and the other will be either the fill or back light.
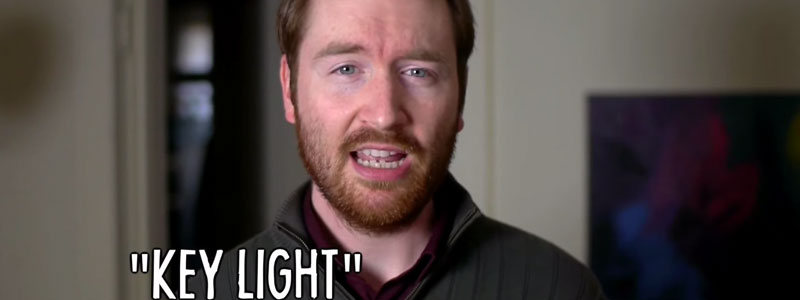
Key Light
This is the main light. It is usually the strongest of the lights and has the most influence on the overall look of the shot. It is placed in front and to one side of the subject so that one side is well lit and there are shadows on the other side.
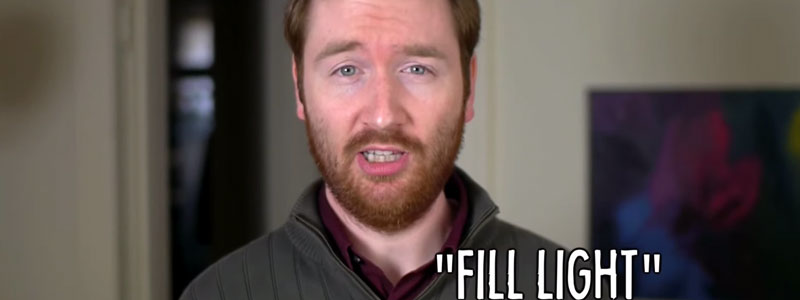
Fill Light
This is the secondary light and is placed in front of the subject and on the opposite side of the Key Light. The Fill Light will usually be softer and less powerful than the Key Light. You can achieve this by moving the light further back or by increasing the flood. This is where you broaden the light instead of making it more intense.
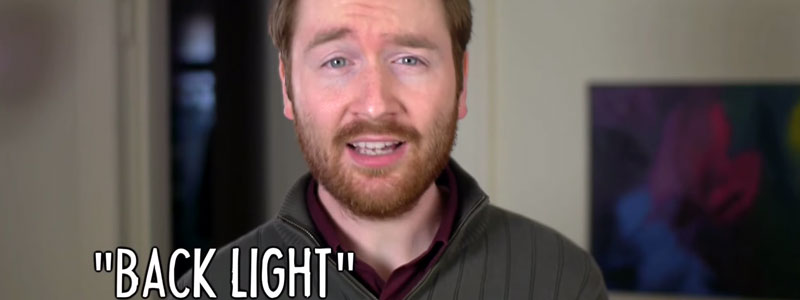
Back Light
The Back Light is placed behind the interview subject (usually on the same side as the Key Light). The Back Light’s job is not to light up the subject but rather to provide definition and subtle highlights around the subject’s outline to create a more three-dimensional look. It will create almost a halo effect, highlighting the hair and shoulder – in fact, this is sometimes referred to as a hair light.
The Three Point Lighting technique is pretty simple but it’s also incredibly versatile. Once you’ve used and understood this technique you’re well on your way to understanding how lighting works! Three point lighting is a bit like the Pirate’s Code; it’s more like a guideline than a set of rules. You should experiment with different types of lighting and shooting at different times of day. The hour just before dawn and sunset is often called the ‘golden hour’ as it creates a soft, warm style of lighting which is quite difficult to repeat with your own equipment!
Also, don’t worry if you don’t have professional lighting rigs! You can get great results just by using whatever you have around you. Work lights can be bought for very little money (especially in America), clamp lights are another option, LED lights can be found on eBay for under £15/$25, and if you can’t afford any lights whatsoever then go outside and use the Sun! You can use a piece of white board or foil as a reflector to bounce light back into your subject – just be careful not to blind anyone! Disclaimer: If you blind yourself or anyone else, totally not my fault!
Griffin Hammond at IndyMogul did a great video about lighting which I highly recommend you check out.
Was this article helpful? Do you have any other lighting questions? Let me know in the comments below.